Standing Horse In Iridescent Art Glass
$199.00
This is part of our More Horses Collection of equestrian art glass decor.
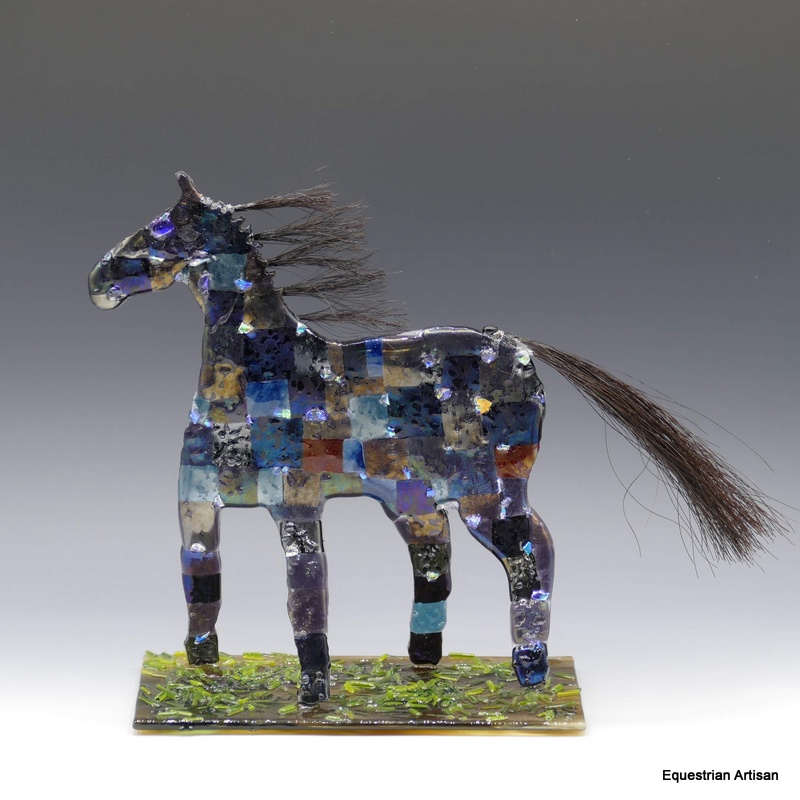
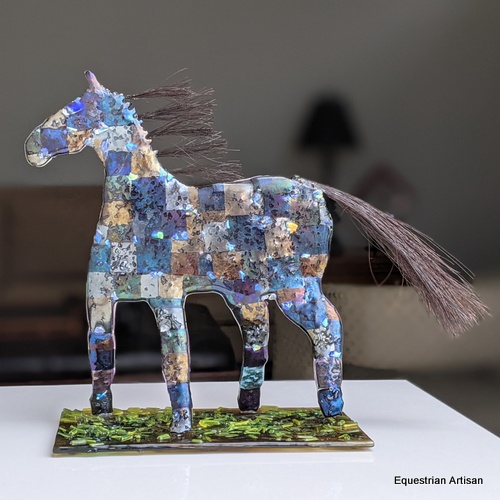
The unique design of this standing horse makes it a conversation starter, and its cheerful colors make it a focal spot, wherever you put it in your home. It is also a perfect gift for a horse loving friend, whatever the occasion. You know that a hand-crafted artwork, small enough to find a place in any setting, will surely be treasured.
Creating the horse was a 7-step process.
Creating the Base Layer: A piece of clear glass was cut in the shape of the horse using a glass saw.
Creating the Top Layer: The top layer is where the designing happens. In this case, multicolored squares of transparent, iridescent glass were cut to fit over the clear glass layer. A scattering of dichroic glass bits were arranged atop the iridescent glass to create bright spots and a bit of sparkle. All the glass was tacked in place with a dab of glue so the assemblage could be safely moved to the kiln for firing.
Fusing in the Kiln: Once in the kiln, the assemblage was heated to 1475 degrees, the temperature at which glass melts and the layers fused together.
Shaping the Horse: After the 1st firing, the individual glass pieces were fused together but the horse was still flat. To give it the ability to stand on four legs we needed to do a 2nd firing, called a “slump”. This time the horse was placed on top of a mold and heated to 1250 degrees, the temperature at which the glass softens and slowly sinks down to rest on the mold and take on its shape. The job of this mold was to separate the horses legs. After cooling it could stand on its own.
Creating the Base: To make the horse less fragile, a base was made by cutting a rectangle of glass in a complementary color and scattering small pieces of green-yellow, 1mm rod on top, to look like hay on the ground. The base was fused at 1475 degrees to join the pieces together.
Attaching the Horse to the Base: The horse was fixed to the base using 2-part epoxy glue.
Creating the Mane & TailAs a final step, small bundles of horse hair were assembled and attached to the back side of the horse with epoxy glue.
Description
This is part of our Horses Collection of equestrian art glass decor.
The unique design of this standing horse makes it a conversation starter, and its cheerful colors make it a focal spot, wherever you put it in your home. It is also a perfect gift for a horse loving friend, whatever the occasion. You know that a hand-crafted artwork, small enough to find a place in any setting, will surely be treasured.
Creating the horse was a 7-step process.
Creating the Base Layer: A piece of clear glass was cut in the shape of the horse using a glass saw.
Creating the Top Layer: The top layer is where the designing happens. In this case, multicolored squares of transparent, iridescent glass were cut to fit over the clear glass layer. A scattering of dichroic glass bits were arranged atop the iridescent glass to create bright spots and a bit of sparkle. All the glass was tacked in place with a dab of glue so the assemblage could be safely moved to the kiln for firing.
Fusing in the Kiln: Once in the kiln, the assemblage was heated to 1475 degrees, the temperature at which glass melts and the layers fused together.
Shaping the Horse: After the 1st firing, the individual glass pieces were fused together but the horse was still flat. To give it the ability to stand on four legs we needed to do a 2nd firing, called a “slump”. This time the horse was placed on top of a mold and heated to 1250 degrees, the temperature at which the glass softens and slowly sinks down to rest on the mold and take on its shape. The job of this mold was to separate the horses legs. After cooling it could stand on its own.
Creating the Base: To make the horse less fragile, a base was made by cutting a rectangle of glass in a complementary color and scattering small pieces of green-yellow, 1mm rod on top, to look like hay on the ground. The base was fused at 1475 degrees to join the pieces together.
Attaching the Horse to the Base: The horse was fixed to the base using 2-part epoxy glue.
Creating the Mane & TailAs a final step, small bundles of horse hair were assembled and attached to the back side of the horse with epoxy glue.


